 Finnian Anderson
Home Assistant waters my plants!
Some readers will know, but most will not, that I am a bit of a self-confessed foodie. I enjoy cooking, but especially so when others get enjoyment from it. Be it friends, family, or neighbours, and sometimes all three, I’m always up for putting something together.
Food isn’t what this post is about, but it’s the underlying motivation for much of the things I talk about, mingled with a healthy dose of nerdism.
At work, some of my colleagues enjoy tinkering with Home Assistant. For anyone unfamiliar, HA is a platform for collecting data from devices, controlling them, and running automations. It’s pretty cool. I was unfamiliar with it, but it sounded pretty cool. OK, so we have a solution. Now to find a problem.
My property has a basic irrigation system for the lawns. 6 zones, you attach the right hose to the tap and let it run until you remember to turn it off. All well and good, but I figured it could be smarter and safer. So, that became the first thing I decided to solve with Home Assistant.
Here are the requirements for the system:
- Simple. No crazy electronics.
- Safe. Pissing water out for 24h would be bad.
- Cheap. Let’s not break the bank.
- Build in an extendible way to pave the path for future ideas.
- Observable. I want proof it’s all working properly.
- Run unsupervised.
- Avoid cloud dependency where possible (a common desire for Home Assistant users)
The hardest part was choosing some hardware for this new platform. I didn’t want to mess around building a server, something off the shelf would suffice. I ended up going with a Beelink EQ14 Intel Twin Lake N150 which seemed like a good fit. It has a 500GB SSD, gigabit ethernet, 16GB RAM and a decent CPU. I paid $259 USD shipped to NZ. It’s definitely overkill for running Home Assistant and a couple of containers, but I wanted some headroom for future projects like a media server and it uses very little power.
Going back to my first use-case for Home Assistant (irrigation), I needed something to control water flow. Various solutions exist, from off the shelf to DIY, but I didn’t want to muck around with custom electronics in close proximity to water, where the failure state is a flood. I also wanted something that operated locally to the property and didn’t require cloud connection. I stumbled across Link-Tap which can either run as a cloud client or it can use a local MQTT server, which I figured would be easy to integrate with Home Assistant, so I took the plunge and got their Q1 4-zone unit.
Once it all showed up, I started by testing out the Link-Tap with their app and cloud integration. It all worked flawlessly and I was really pleased with it. I ran the irrigation schedule for a few days to prove it was working as expected.

Link-Tap installed with transceiver placed up high.
Next step was to get Home Assistant installed and configured. I decided to go full nerd homelab setup and install Proxmox on the Beelink. This was pretty straightforward, I just made a bootable USB stick and ran the Proxmox installer.
I found it confusing as to whether I should run HA in a Linux container, or as a VM. As most guides suggested the latter would be easier if I wanted to pass-through USB (e.g. for a Zigbee transceiver, more on that later), I opted to do that. With that, Home Assistant was up and running!
The next step was to setup an MQTT broker, which was also really easy. I ran it as a container in Proxmox and then connected the Link-Tap gateway to it so communications could happen over MQTT. The sensors (water flow, etc) and switches immediately showed up in Home Assistant which was cool.
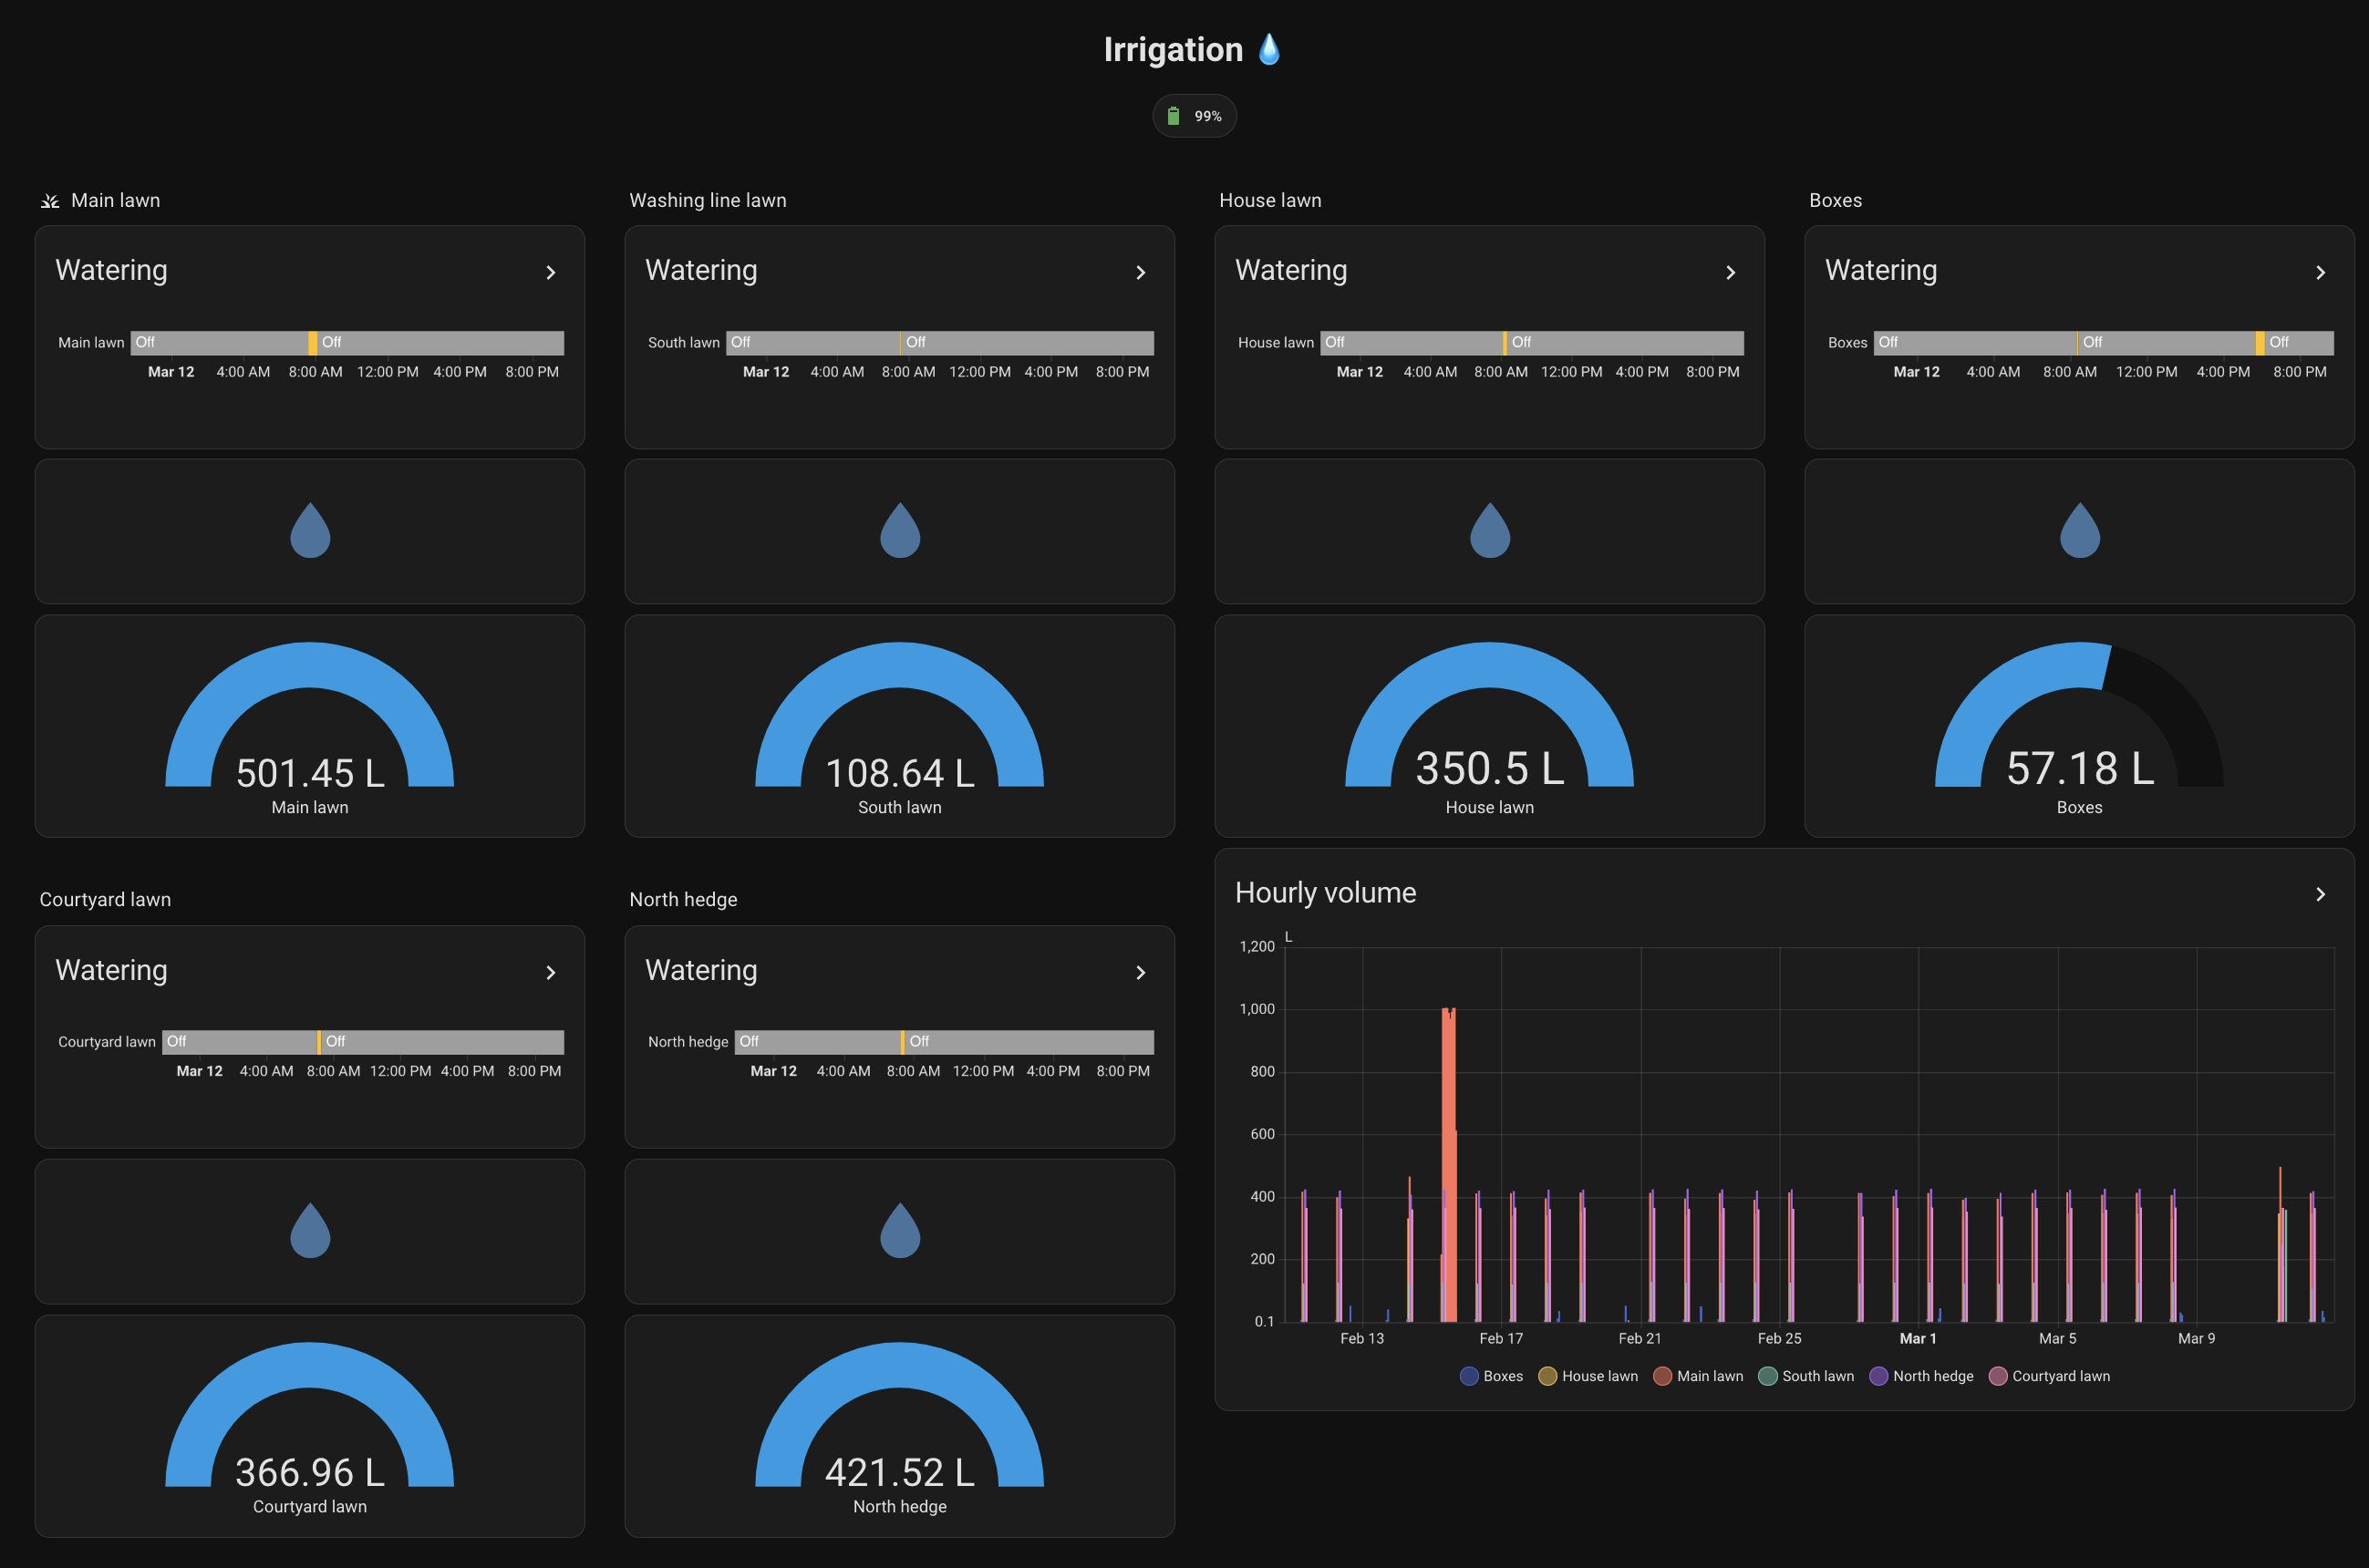
Irrigation dashboard in Home Assistant
I was able to easily configure an automation to run the irrigation every morning, taking into account the forecast for the day (e.g. don’t run if it’s going to rain!). I also added automations to send me push notifications when any zone turns on.
I mentioned Zigbee earlier. I liked the idea of various sensors around the house and outside the property for measuring things. I picked up a SONOFF ZBDongle-P for $32 USD as it had good support for Home Assistant. It was easy to get working with zigbee2mqtt running in another container.
I started with climate sensors in various rooms but I’ve also added soil moisture and humidity sensors to the mix. These were all cheap battery devices from Aliexpress. The climate sensors are great but the soil sensors report data sporadically. I think I need more Zigbee repeaters to get a reliable mesh network, but to date I haven’t found any consumer-grade devices certified for use in NZ.

Climate dashboard in Home Assistant showing data from various rooms.
To take things a step further, I wanted to be able to remote into Home Assistant to check on things. I only wanted to expose Home Assistant though, not any of the other services to keep the surface area minimal. I decided to use Cloudflare tunnels for this, in combination with WARP VPN for security. It’s configured to only allow connections from within my Zero Trust account for safety. It mostly works, there’s a bit of friction when the session expires but it works OK most of the time. The Home Assistant CarPlay app even offers up my irrigation controls when I’m driving. Lol.
I’ve setup automatic backup of VMs and containers in Proxmox (I need to add an external disk for redundancy). Having never used Proxmox, I thought this might be hard, but I was pleased with how easy it was to setup a backup schedule.
I ran into a weird problem every few months where the mini PC wouldn’t recognise it’s NVME drive and would die, then fail to boot. It did this once when I was away for 3 weeks which was irritating. I have hopefully resolved this by disabling NVME deep sleep with nvme_core.default_ps_max_latency_us=0, see this ChatGPT conversation. If that doesn’t fix it, it’s probably a low-quality SSD causing the issue and I may need to replace it or send it back to Beelink which would be annoying.
Further things I’d like to do:
- Install a media server and somehow make it accessible on the TV.
- Add energy usage sensors - I am going to get solar panels installed so this may happen as part of that.
- Resolve my Zigbee mesh network problems
- Add more irrigation lines for my planter boxes, or build a greenhouse!
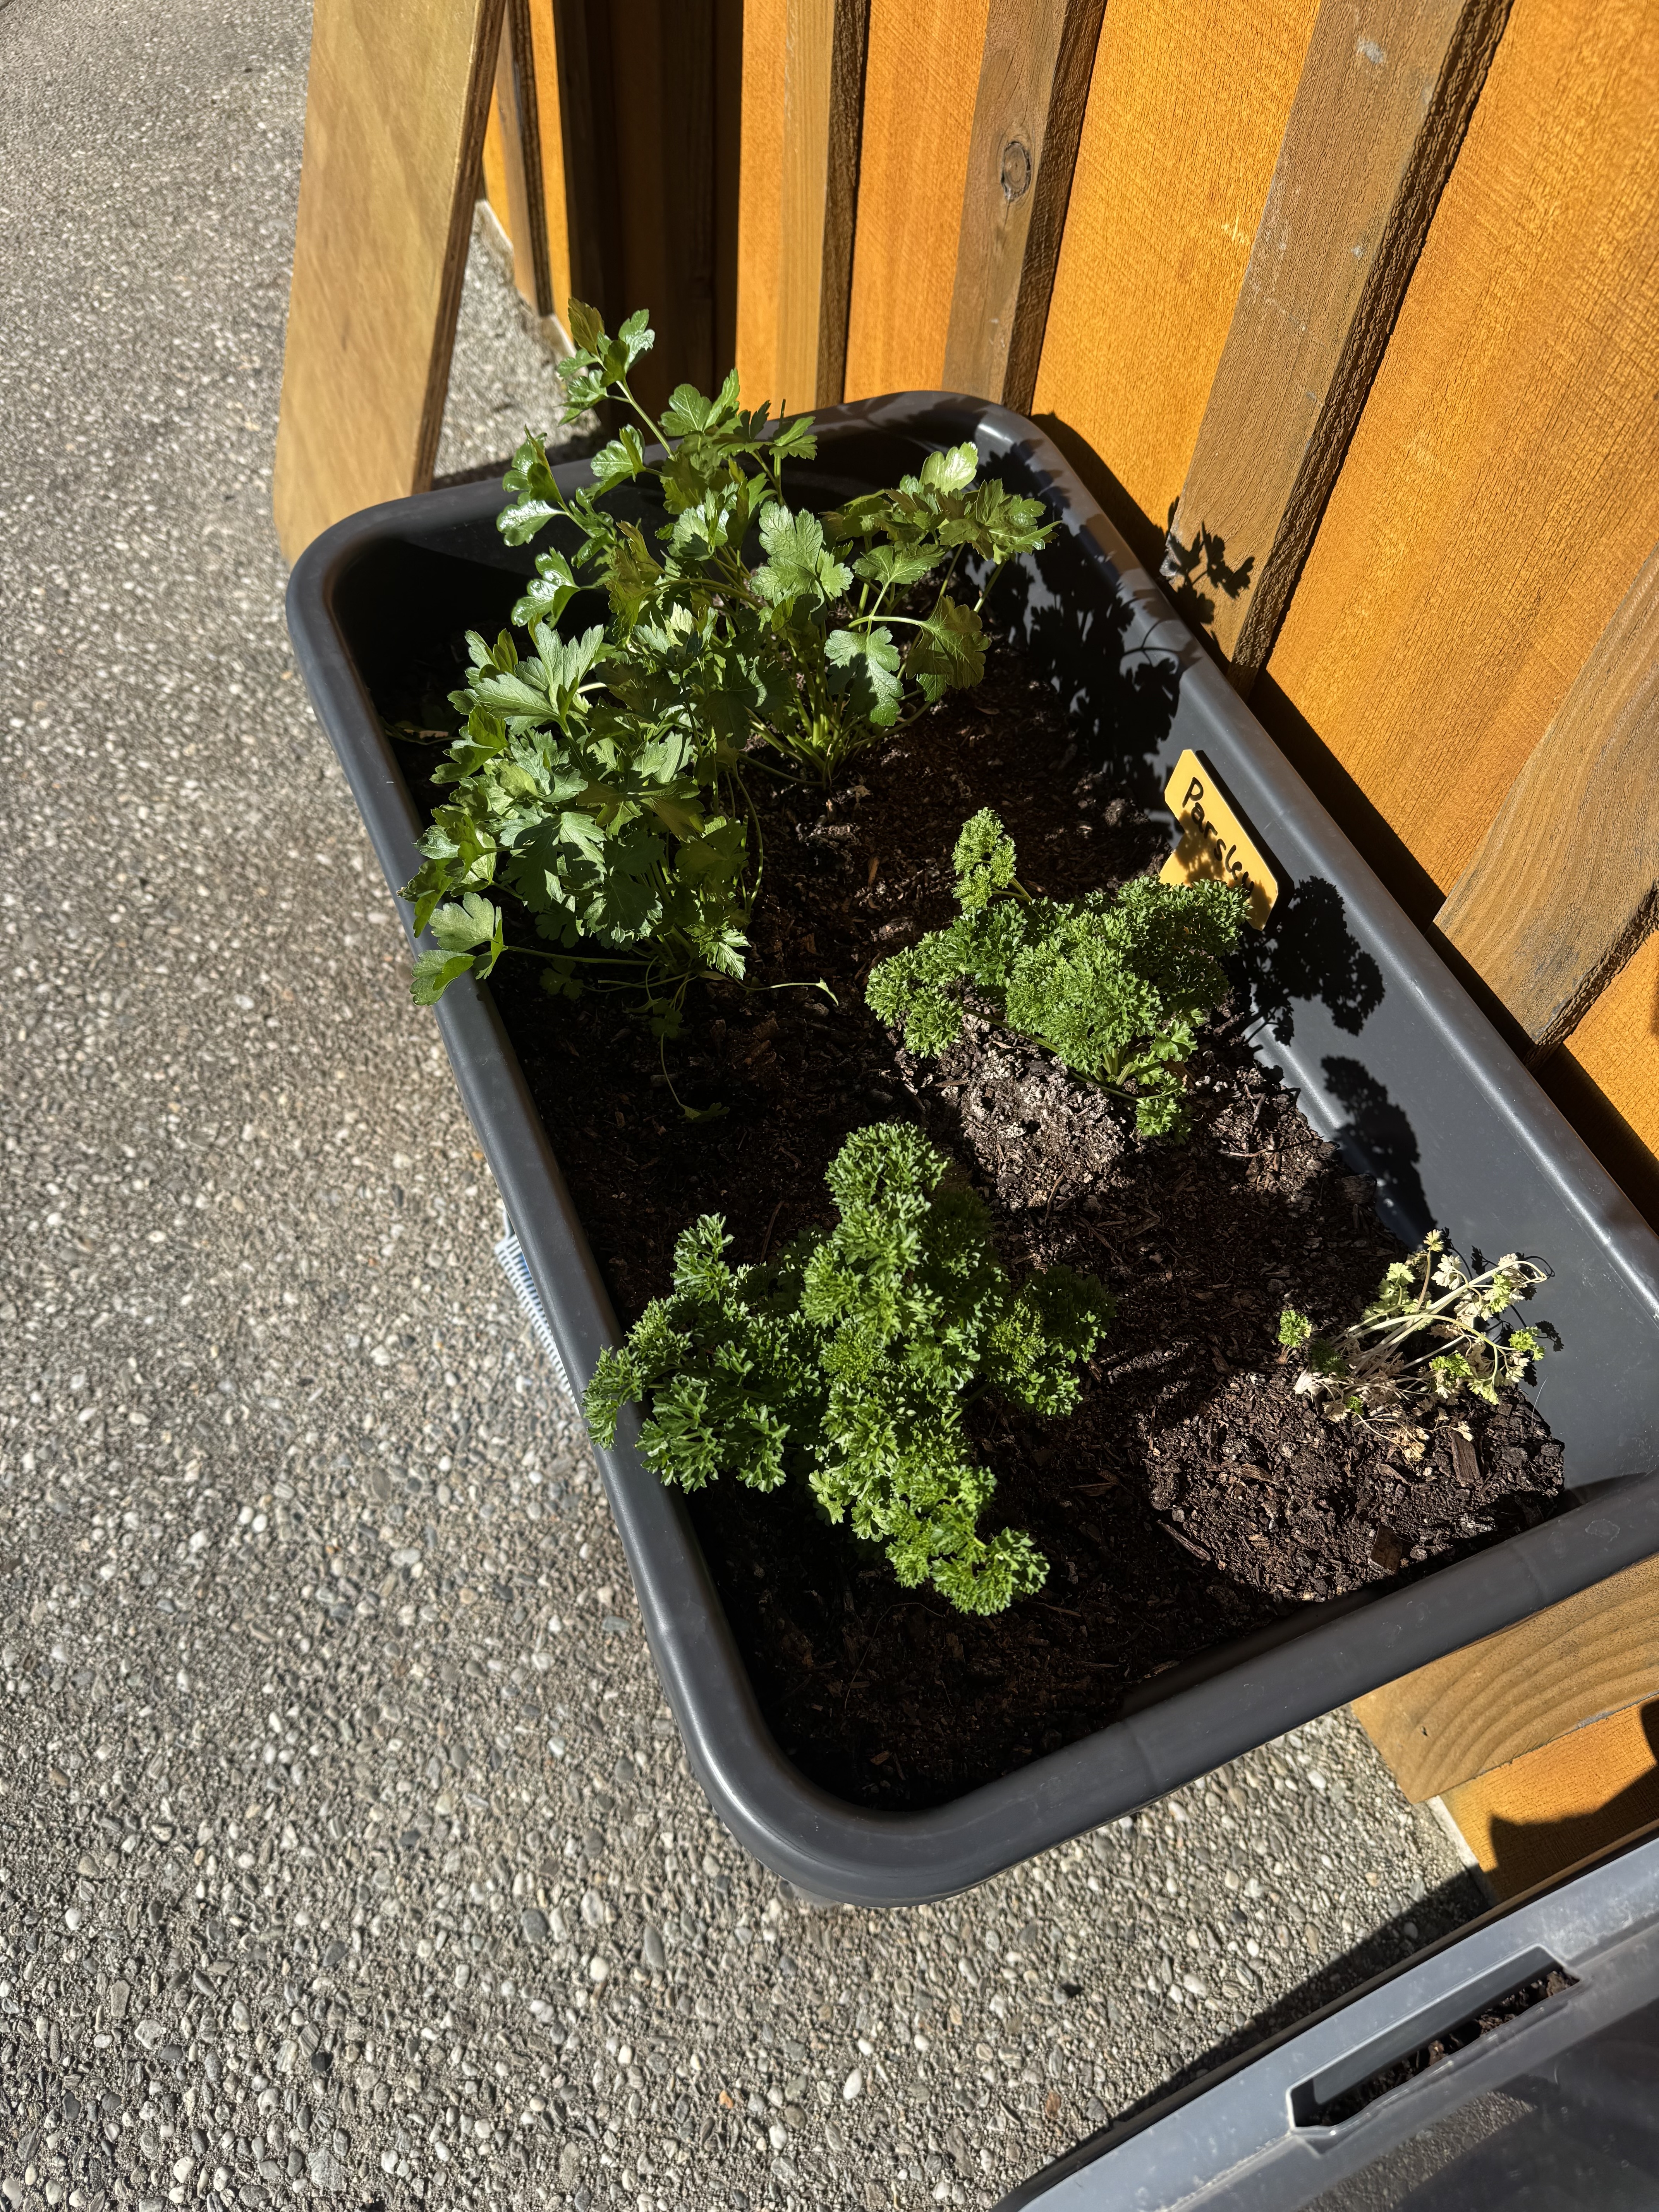
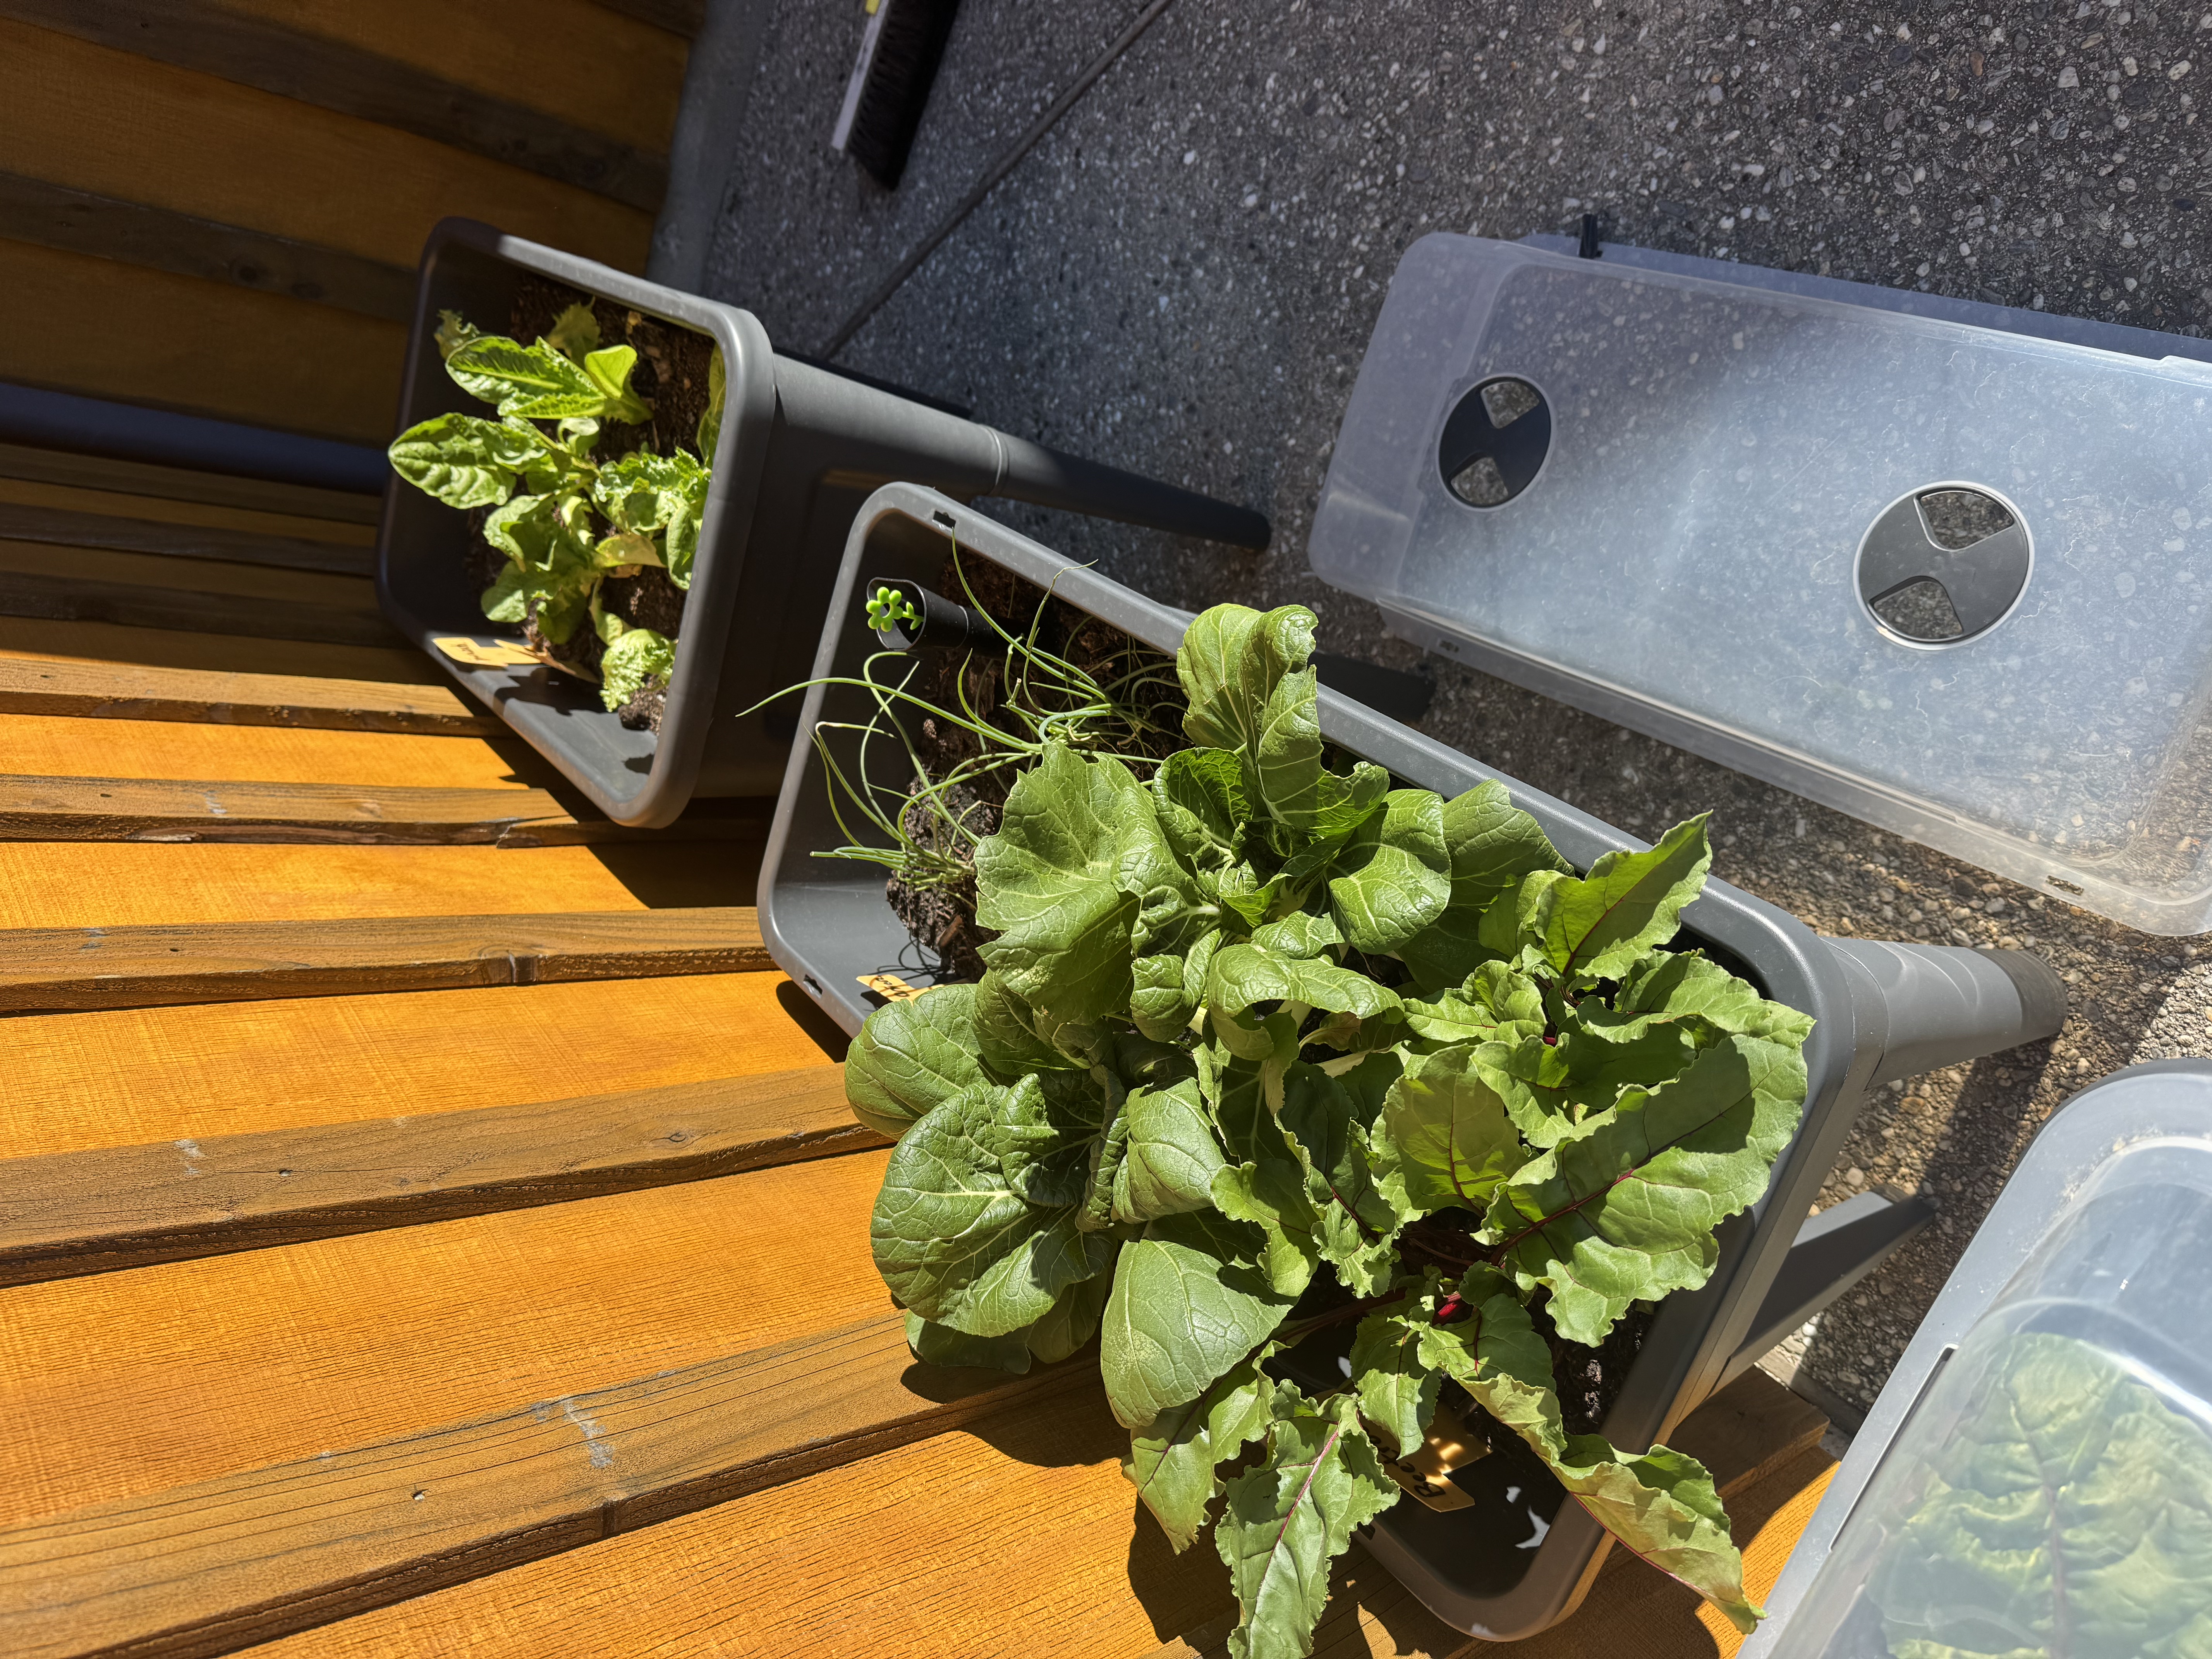
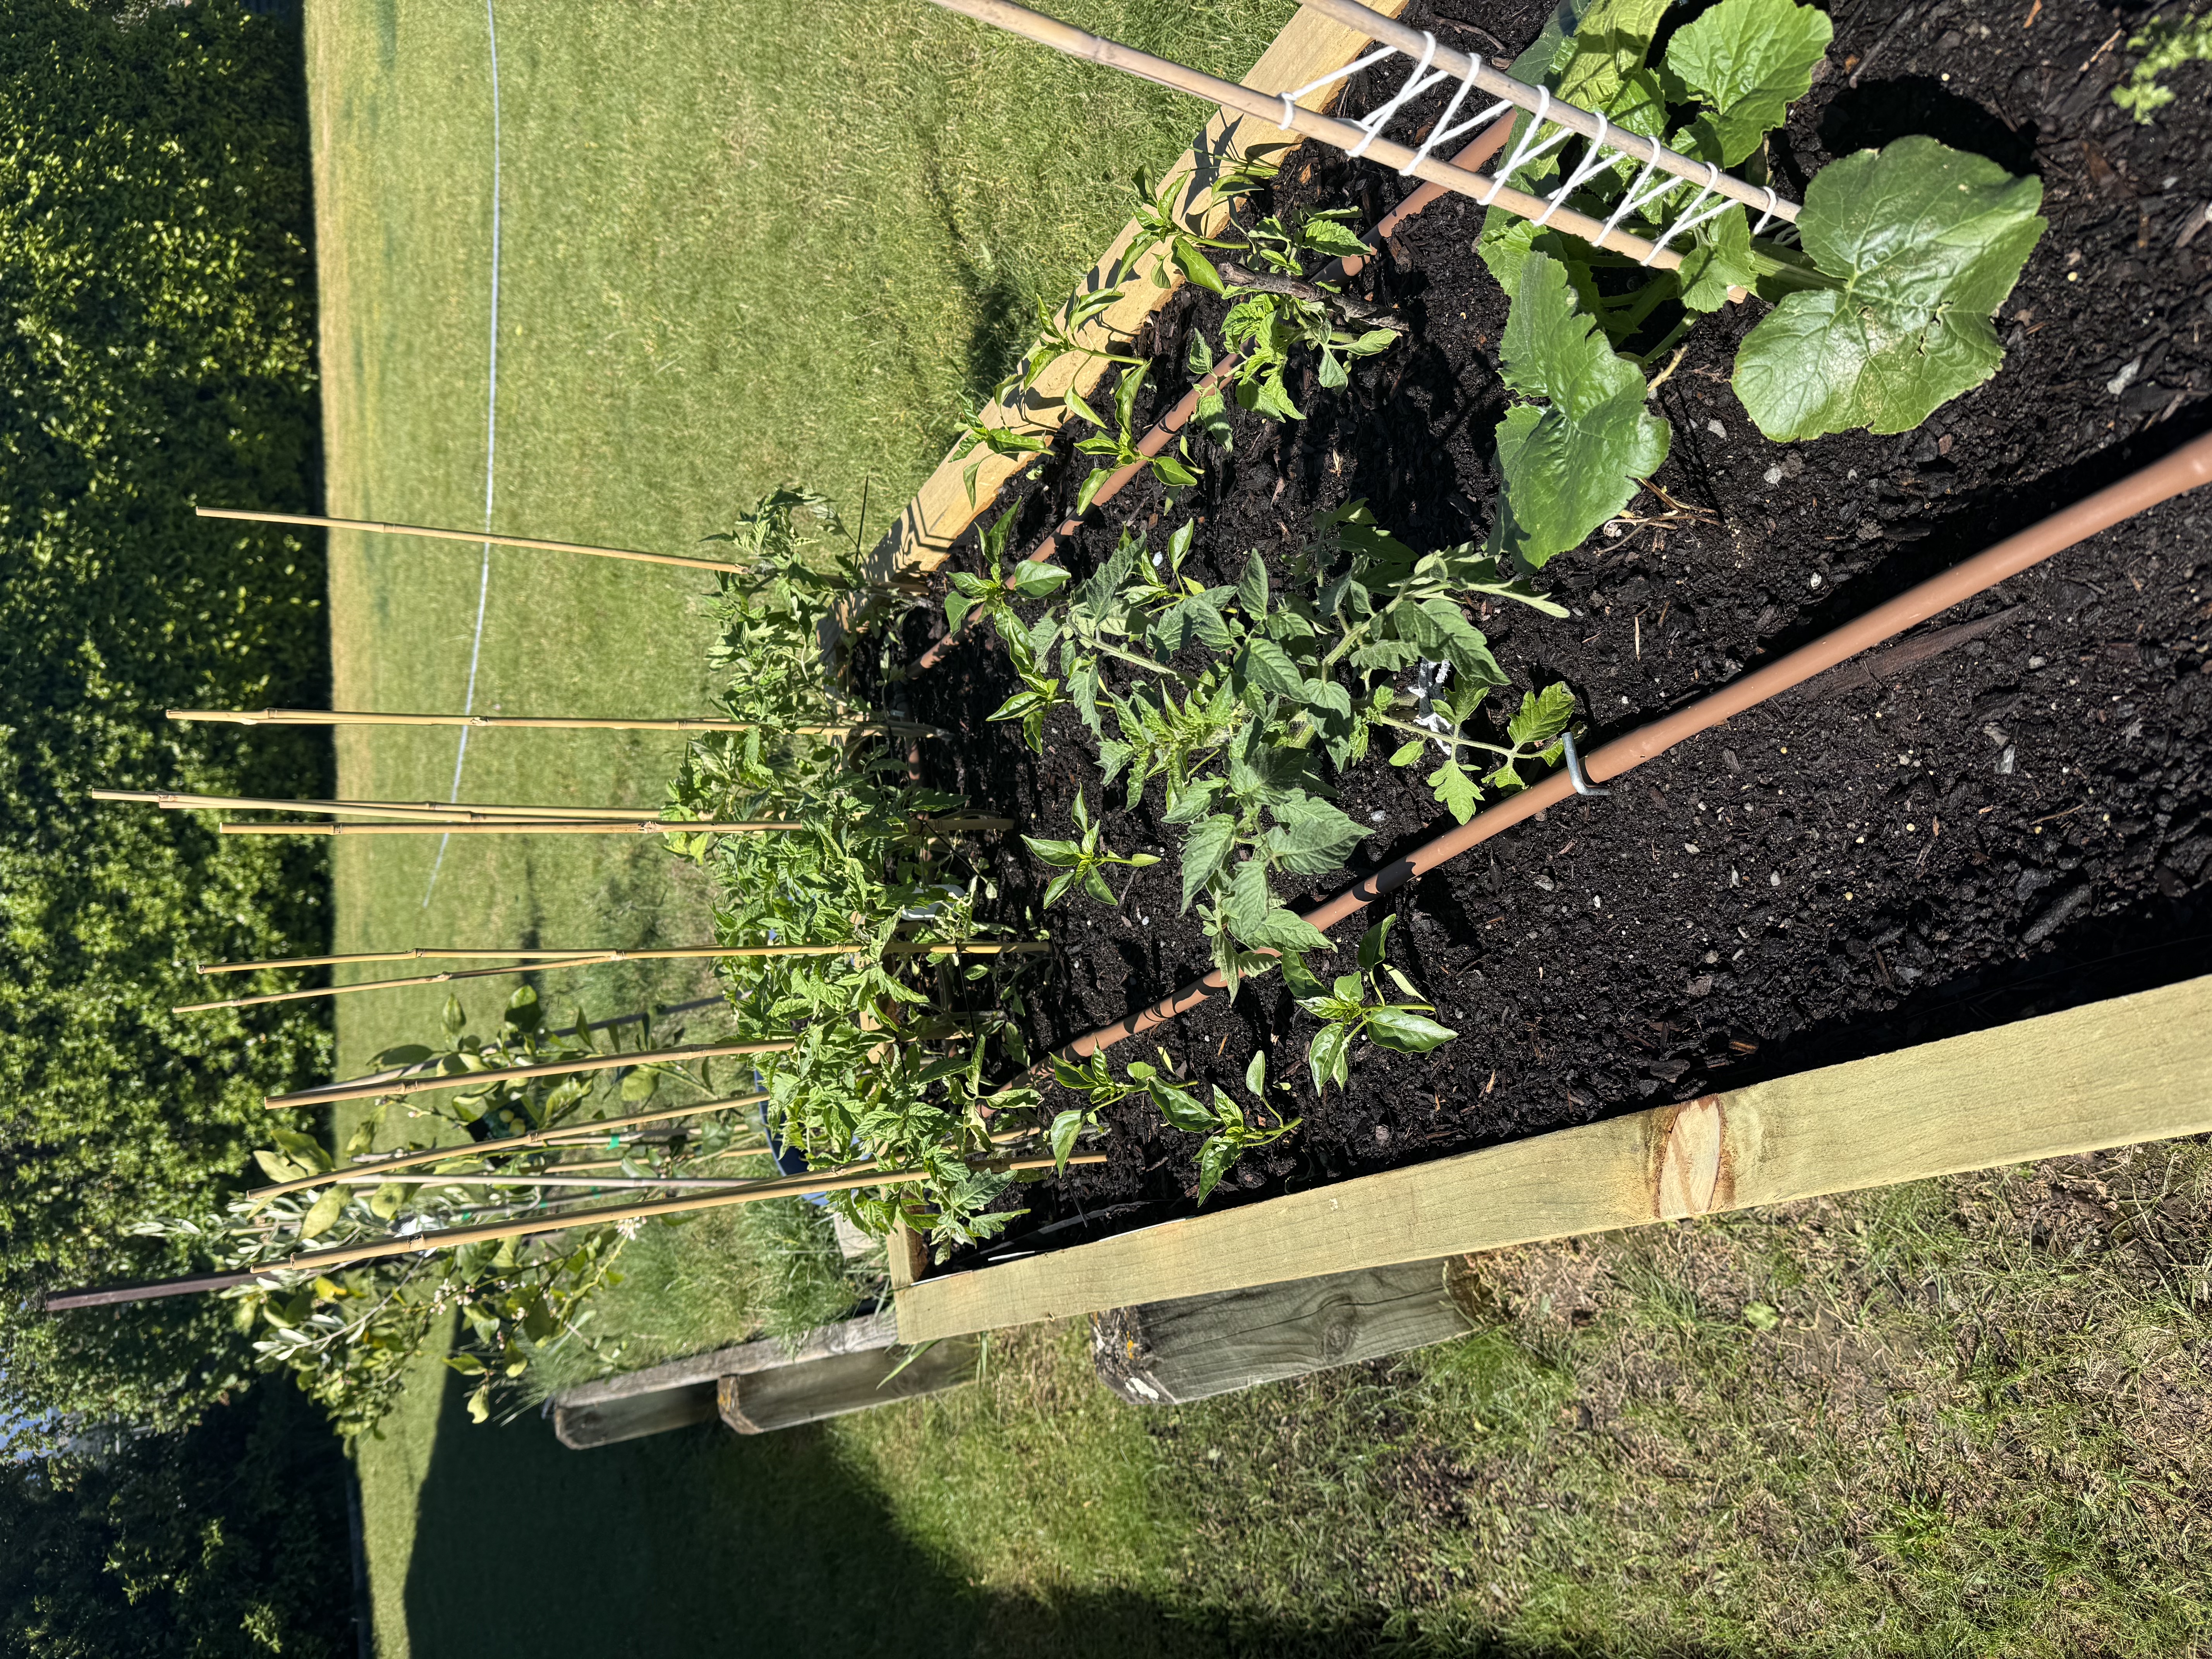
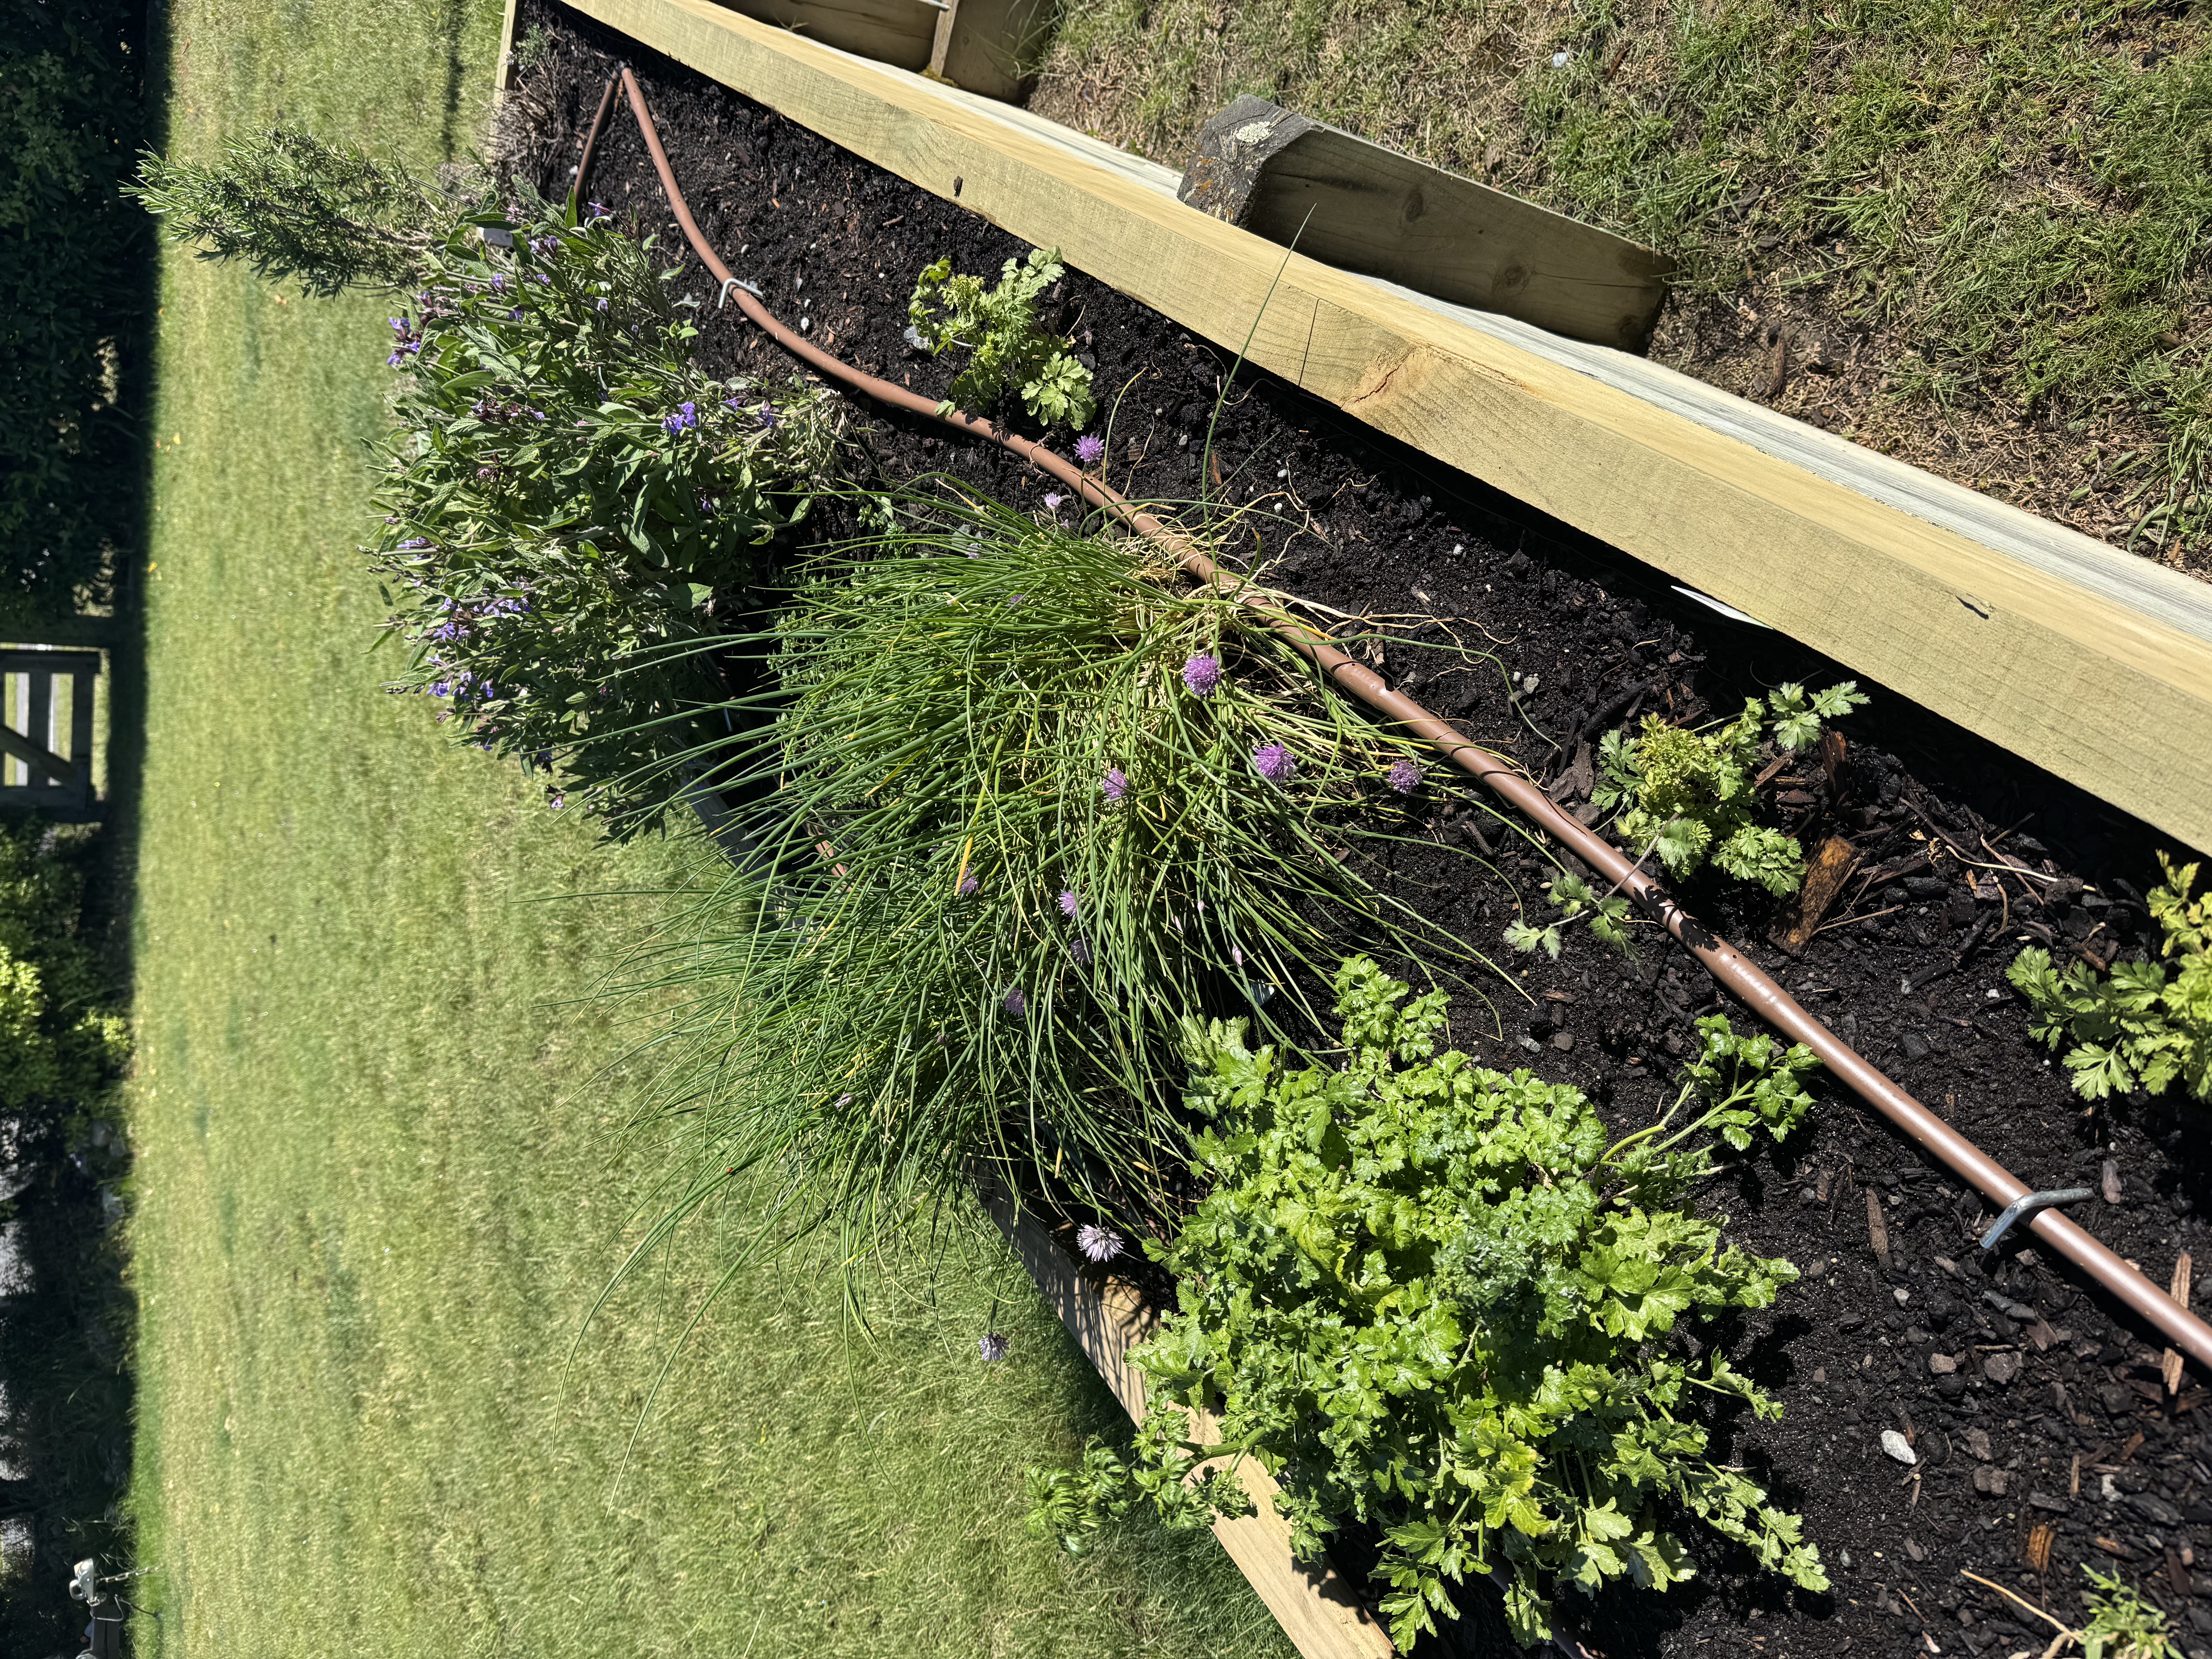
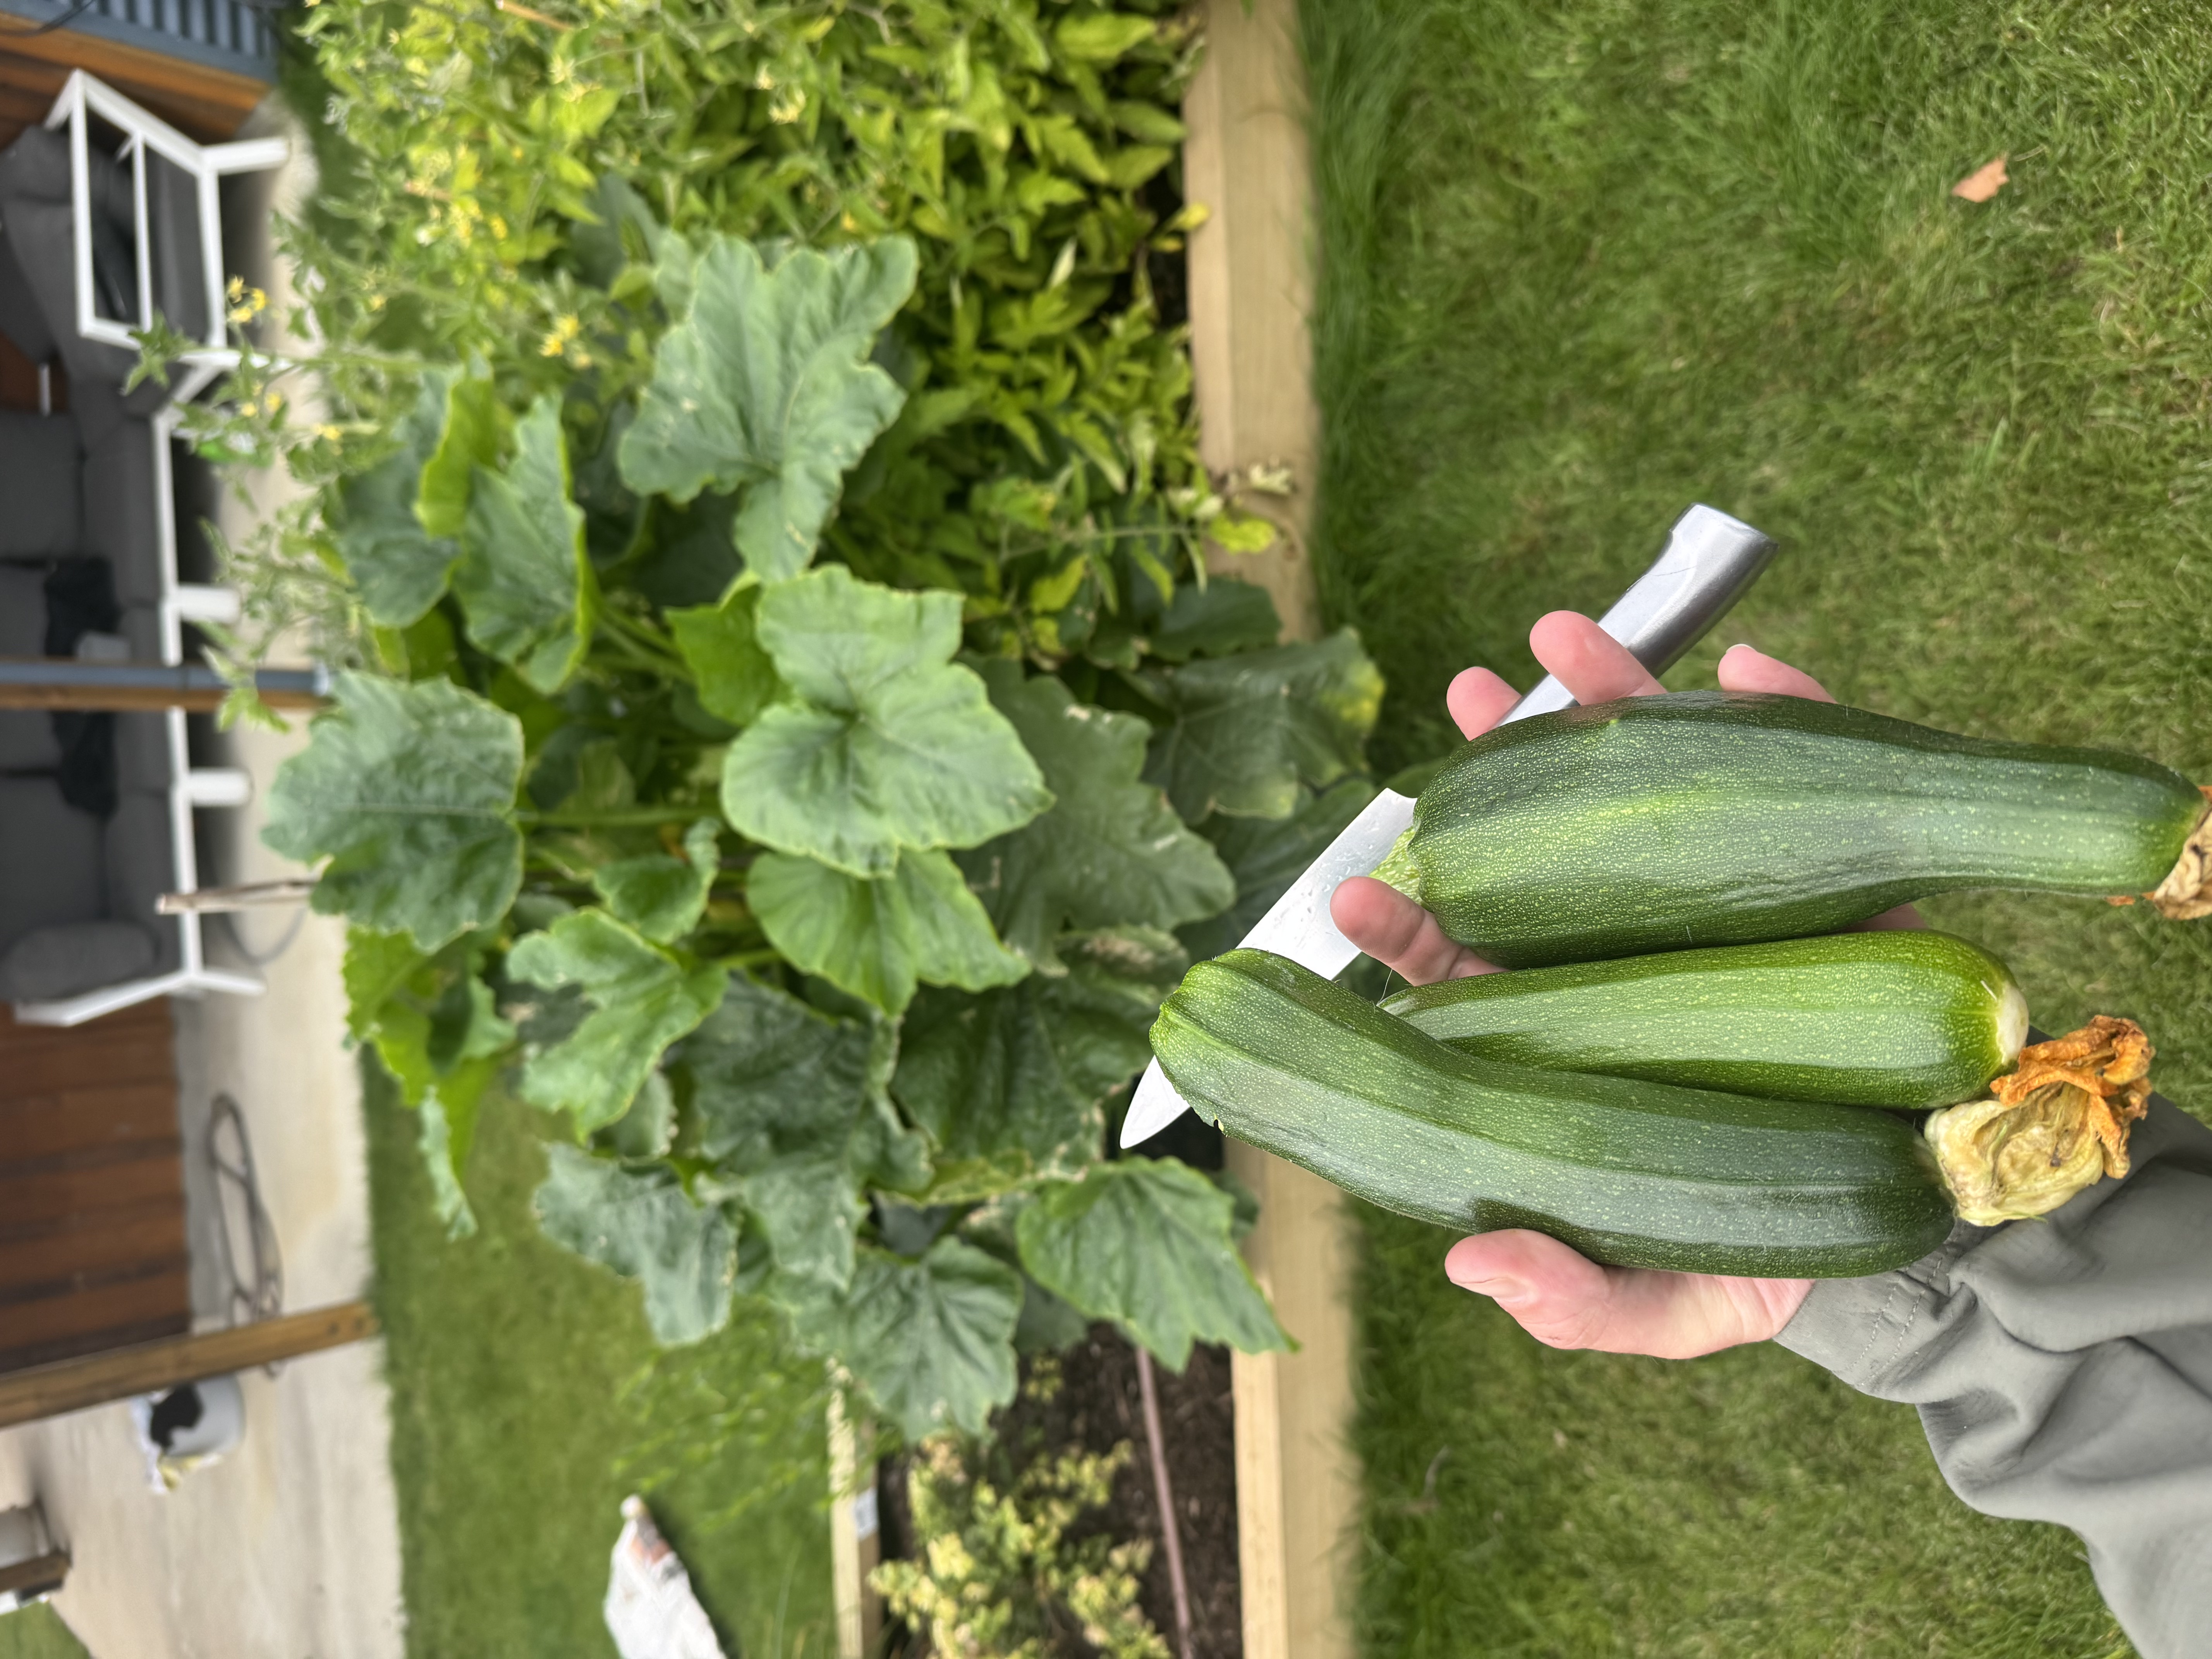
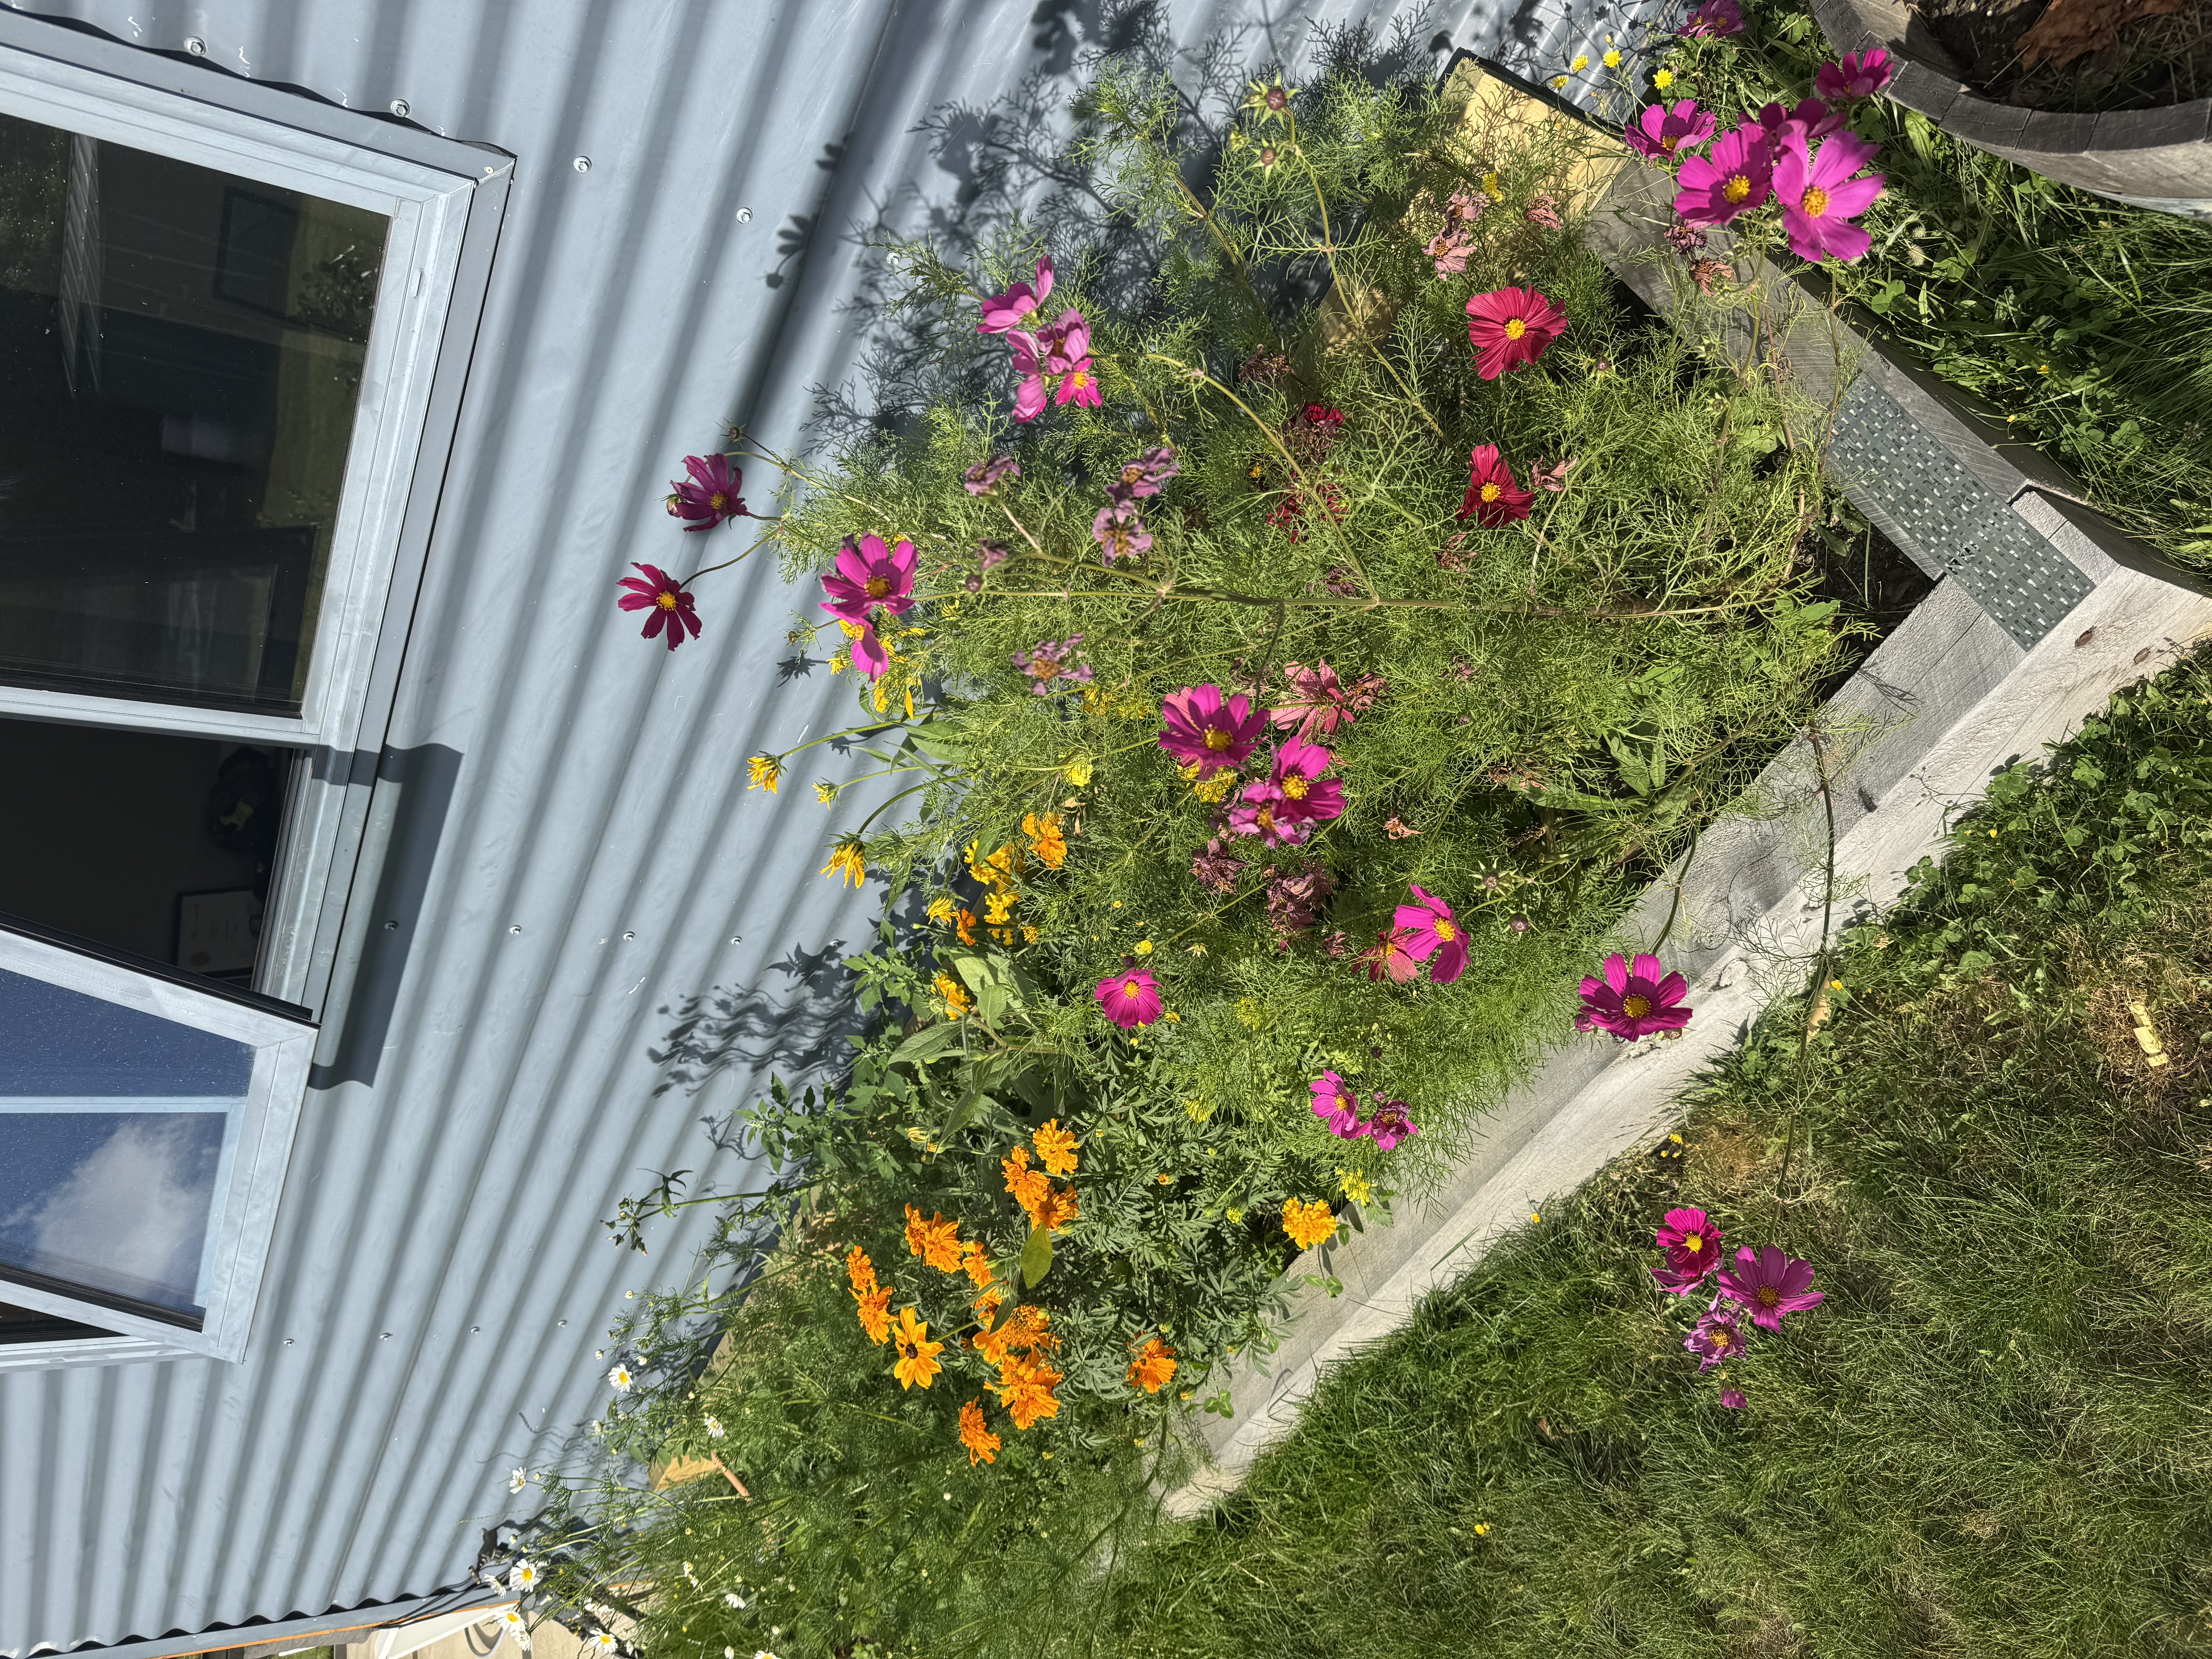
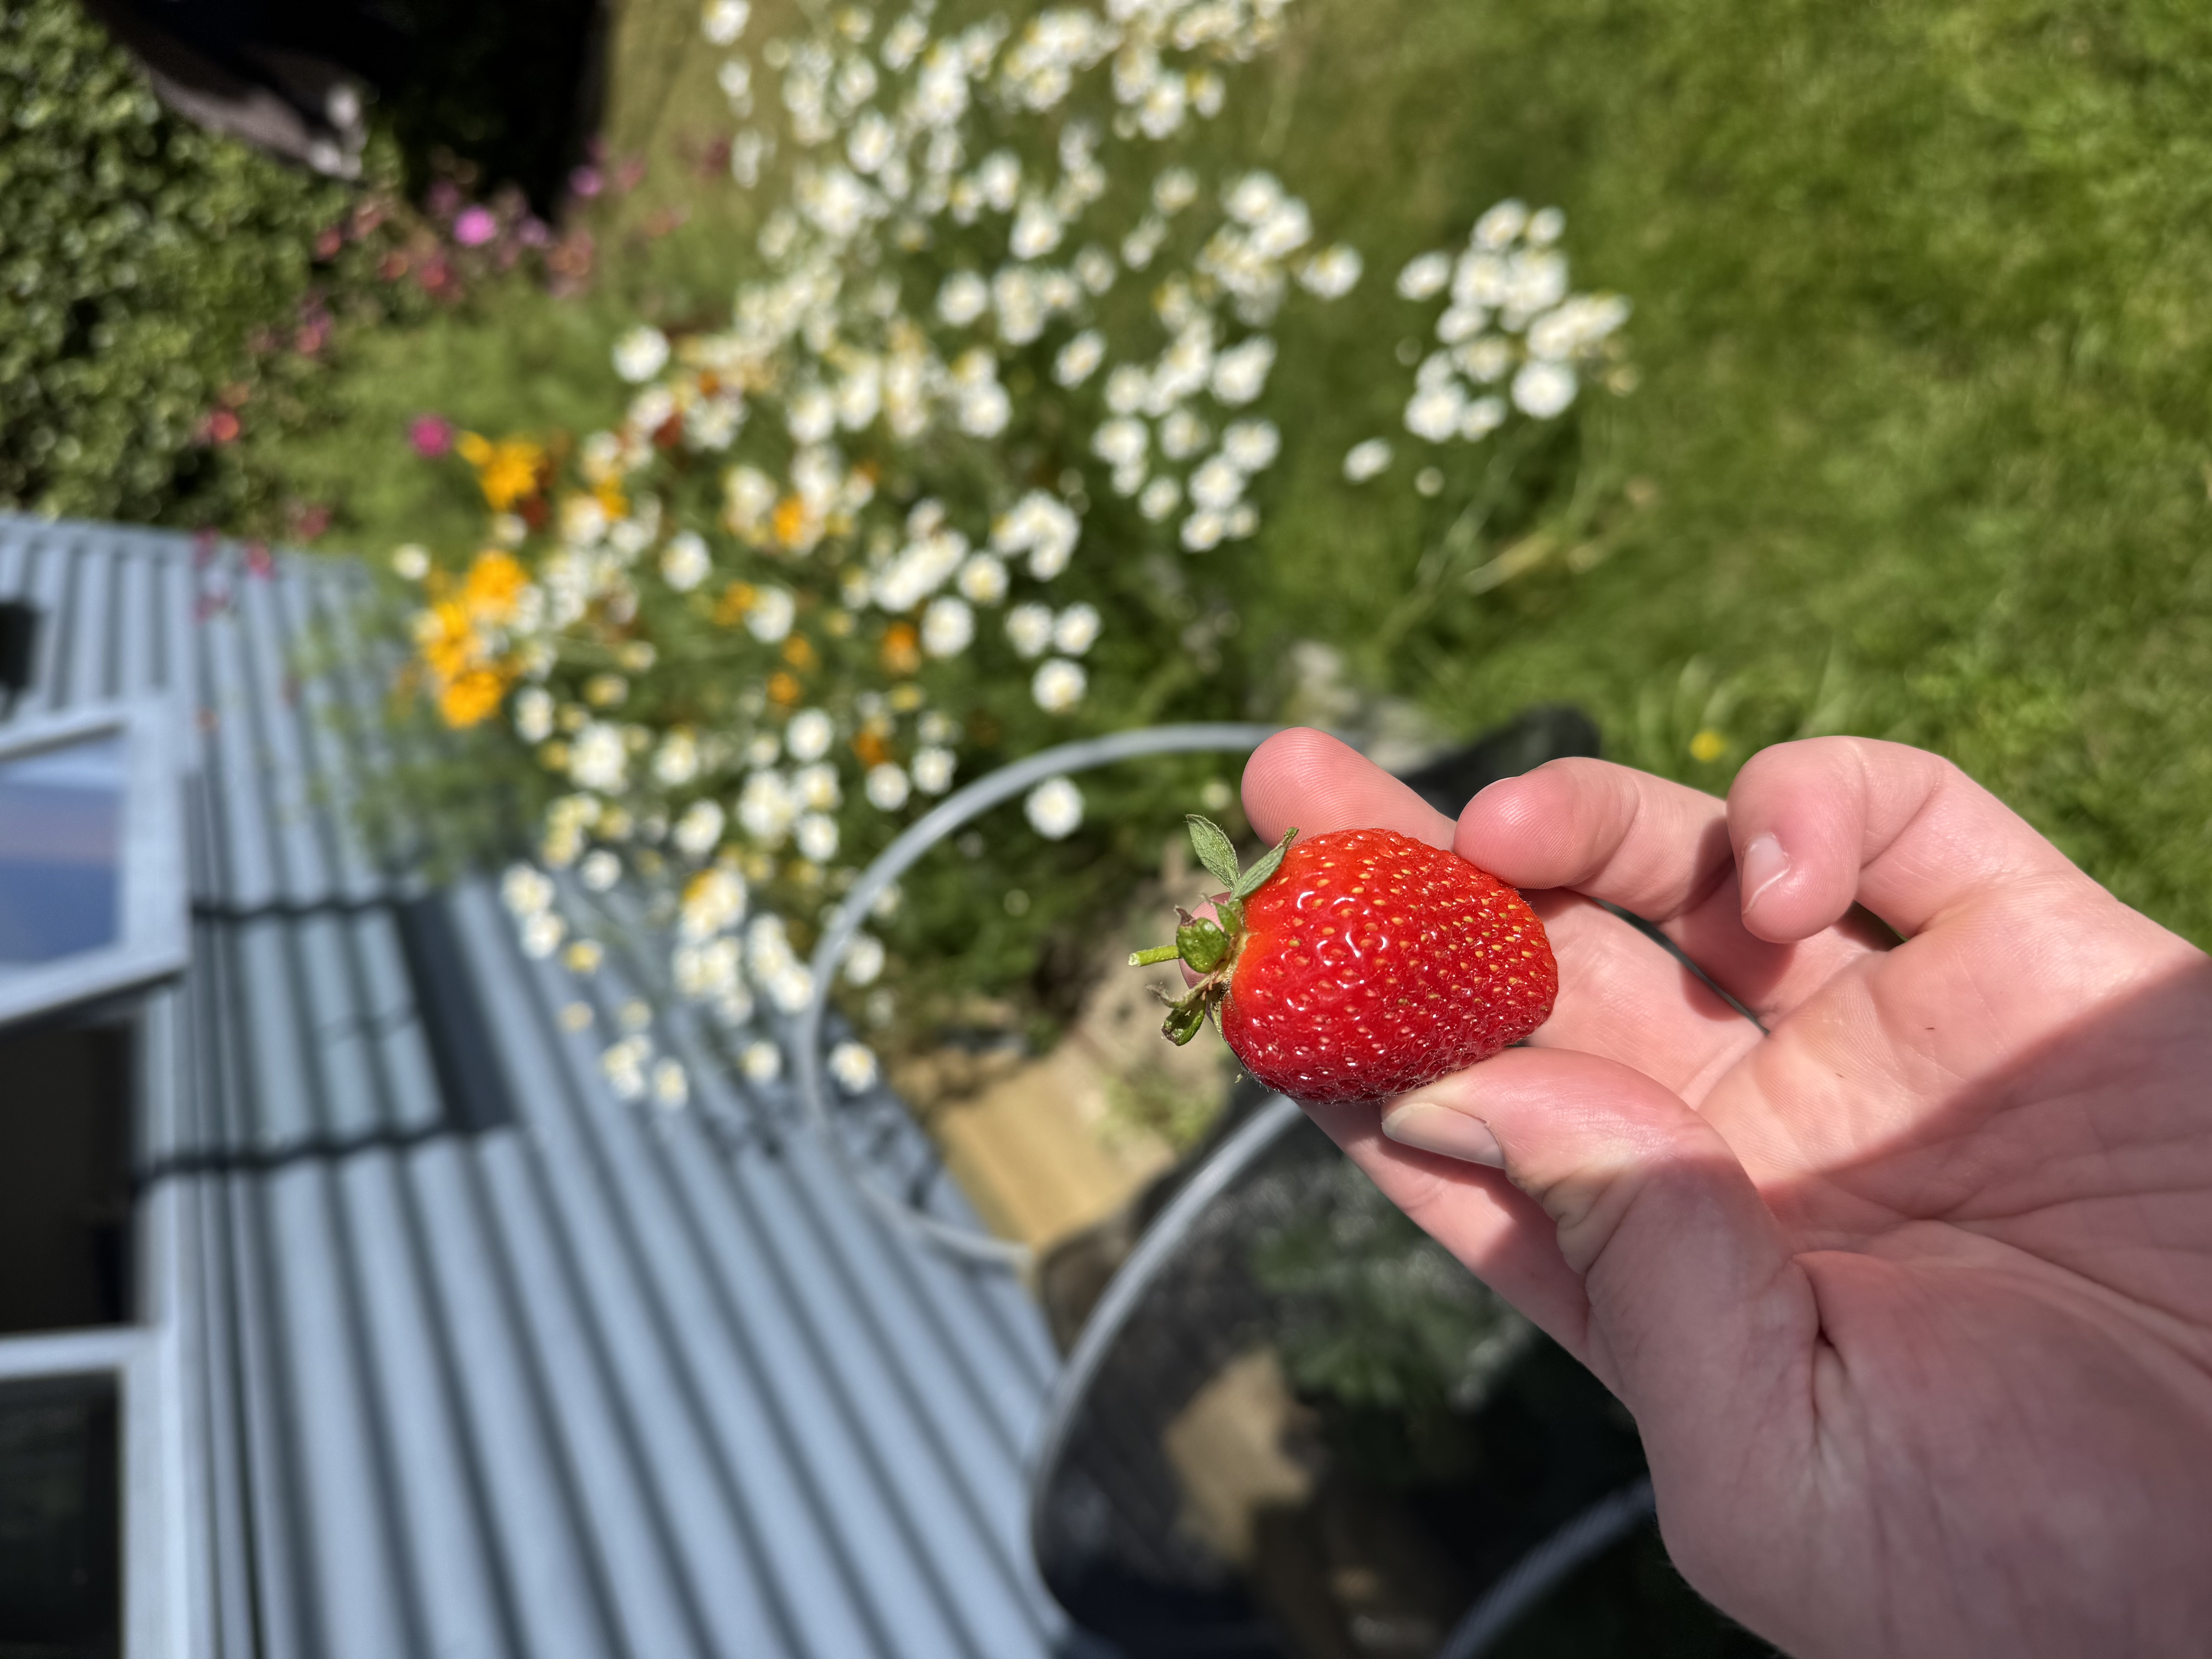
I’ll leave you with some photos of the greenery!